How do we do a house rewire?
If your lights are flickering, bulbs keep blowing, the fuse board keeps tripping or you don’t have enough sockets in your rooms, then it may be time to think about rewiring your house or part of it. To be sure it's safe, it’s best that you have an Electrical Installation Condition Report (EICR) carried out to have the existing wiring tested.
House rewires are common, especially for older houses as in the past people didn’t have as many appliances and electronics as we do now and the wiring system may be outdated or undersized to serve your house and your needs. As a general rule, it’s recommended that a rewire is carried out every 25-30 years but it does depend.
A house rewiring is a huge job and can seem very daunting. One thing that can make it feel easier is to know more about the process. Here we discuss the process that we go through when doing a house rewire.

Getting Started
Before you start, you need to commit time to plan and preparing for a house rewire. You can start by making an inventory of your appliances and electronics, plus all the lights in your home. This should include your fridge, oven, TVs, games consoles etc. Think about how often you use them and when.
This inventory should also include any extra needs or future wishes - it is always best to future-proof the wiring system by thinking about what you may need in the future.
It is also worth thinking about the type of electrical system that you install, as modern options can now include data and security as well as electricity.
What is a data wiring system?
Data wiring can provide various services in your home. A Coax cable is used by virgin media to connect Tv and the internet once it reaches the property. Telephone cable is used to point in the home for the landline but this is changing fast with technology. An Ethernet cable is something that is being installed as part of a rewire which enables hardwired internet to be accessible throughout the home. This cable also can serve as a network cable to configure and build your own network. Having Ethernet cables installed is something your electrician may do.
What is a wired alarm system?
Wired alarm systems are still popular with homeowners as they are more affordable, more secure (they can’t be hacked) and they don’t run out of power. They are also more reliable as they won’t be triggered by other wireless devices such as remote controls or baby monitors. It's worth letting your electrician know if you plan to have a wired burglar alarm installed so a power supply can be put in place and then an alarm company can install a wired burglar alarm system.
Making Plans
Once you have decided on your needs the new wiring installation can be planned out. You will need to discuss this later with your electrician so that he or she can check it for safety and feasibility.
You will also need to set yourself a budget - this will depend on the size of your house, the specific requirements that you have as well as the demolition and reconstruction work to be undertaken. This will help you to choose your electrician once you have had some quotes. Having a budget will also help you to make quick decisions when issues arise.
A basic house rewire can take between 5-10 working days, depending on the size of the property but could be longer. The property is best to be unoccupied when the rewire is going on. As even if due to safety concerns a rewire can happen it would certainly hike up the cost and the duration of the rewire. This means that the electrician can spend less time tidying up at the end of each day so that you can use the house in the evening, and more time on the rewiring work.
The 6-Step Plan
I’m going to lay out my 6-step plan for a house rewire. This is the process I go through each time I complete a house rewire, to give you a bit of knowledge about what needs to happen.
1. Detailed walk through the house
Once an estimate for a house rewire has been accepted then I conduct a detailed walk-through with the client. This gives us time to discuss the work and give a detailed account of what needs to happen. This is where your inventory and plans are useful as we can talk through them and resolve any issues. The client then pays the deposit as a first instalment for the work to be carried out.
2. Planning
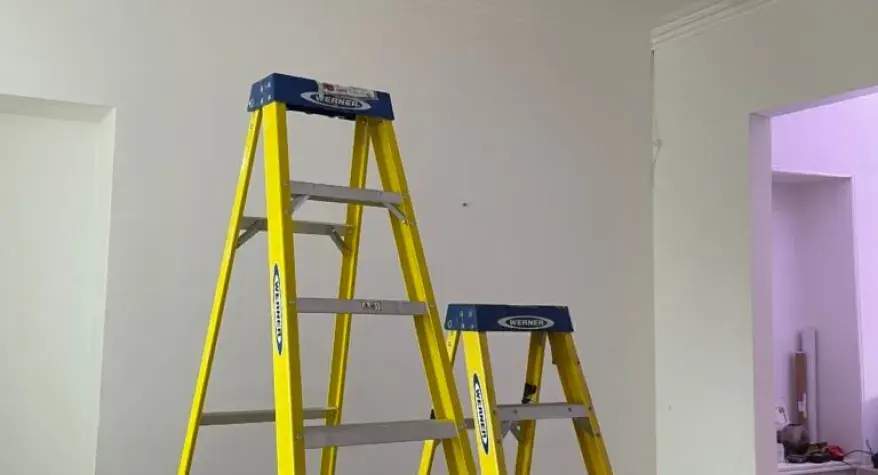
At this stage, we work together to plan the final location of where all the sockets, switches, lights and routing of cables. Again, your inventory and plans are very useful as a starting point for discussion. At this stage, I would discuss with the client if anything needs moving so that I can access everything. I will need to be able to access the old wiring, so I may need access to the attic and almost certainly I will need to lift floorboards. You will need to move any clutter from around the electrical outlets.
3. Getting started
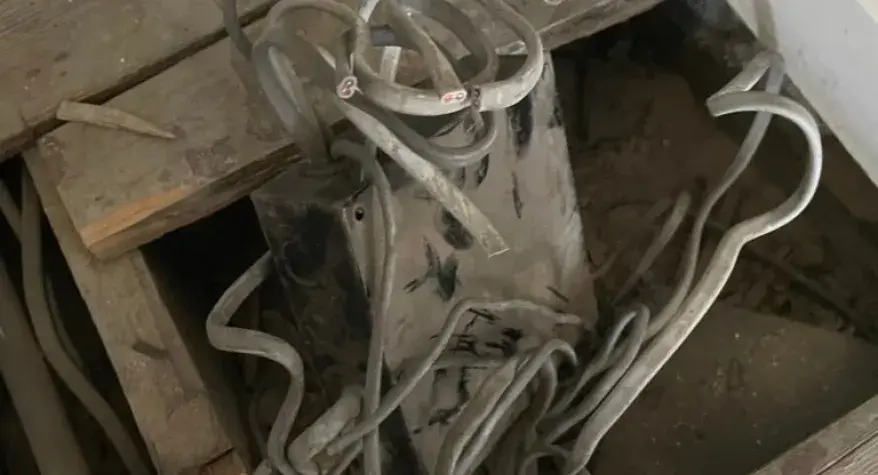
First, I will set up temporary power to be used while your system is being replaced. After this I will take out all the old cables and accessories - this is where it will get messy!

It is a good idea to cover furniture with dust sheets. Plaster on the walls will be removed and carpets and floorboards lifted. I will need to do a lot of work hammering and drilling to remove the old cables and to set up the first fix. Time needs to be taken to ensure that this stage is done safely.
4. First Fix
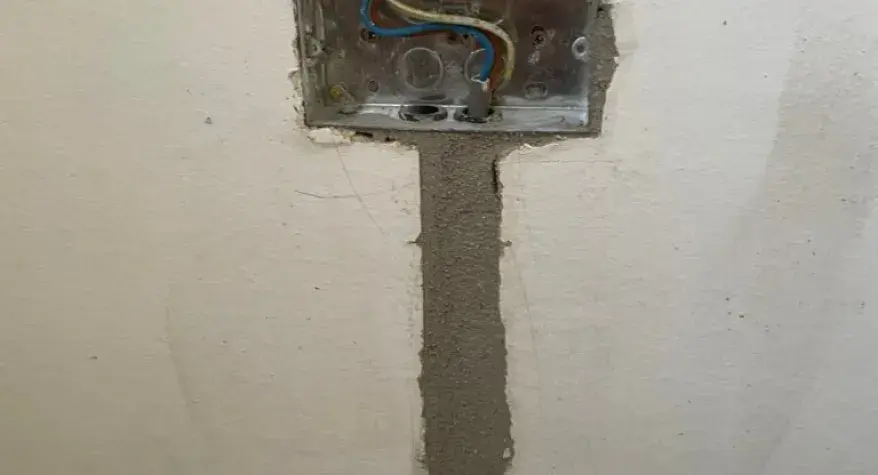
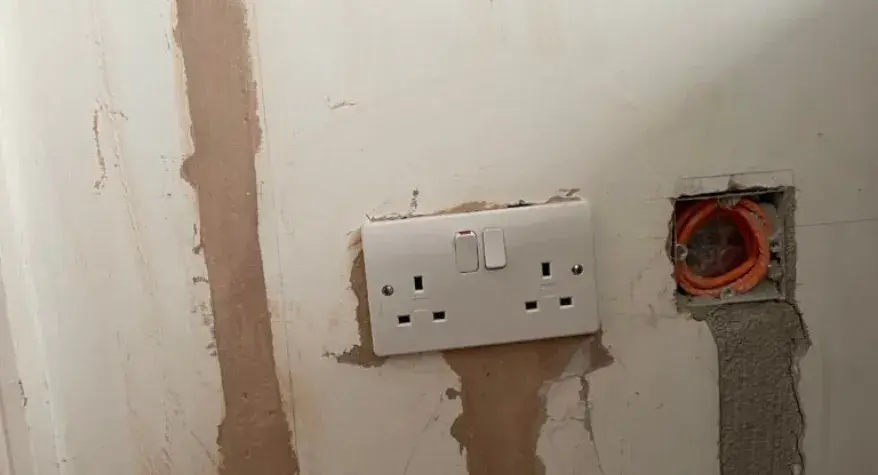
This is where things start to get moving. The first fix is where all the new cables and back boxes are put in place. This is effectively the skeleton of the wiring, ready for the visible components to be connected later on. All the cables will be pulled through into the agreed positions for any built-in appliances.

Once this is complete then the client will make the first fixed payment.
5. Second Fix
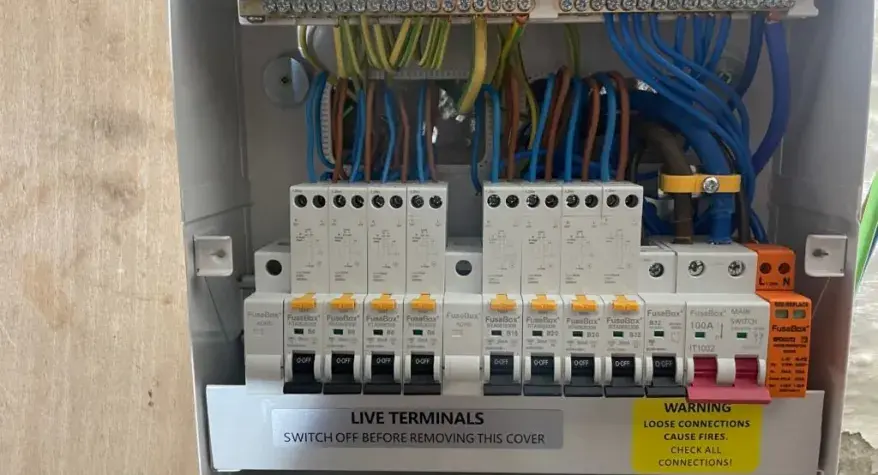
The second fix is where the visible components are connected to the new cables behind the walls and flooring. The visible components are the plug sockets, light switches, consumer units and light fittings. The new cables are also connected to other appliances such as an electric oven or electric shower.

After this, I will test the installation and the fuse board to make sure everything works properly.

6. Finishing Off
At the end of the process, I finish by tidying up the last few bits and I conduct a walk-through with the client. When we are both happy, the client makes the final payment and I issue the necessary certificates, along with notifying the local authority and building control.
House Rewire Services
So, that’s my step-by-step process of how I carry out a house rewire. Hopefully, I’ve taken the fear out of it by detailing the process of what needs to happen. To sum up, once a deposit has been made we start by planning where all the sockets, switches and lights are going to go. Then once the old wiring ( as much as possible) & accessories are removed the first fix can commence. Now the cables are in position once the first fix payment is made the second fix can begin. Following final payment within 21 days of completion, you will receive the electrical installation certificate (EIC) for the rewire and a certified electrician will have registered the work with building control so you should receive a certificate from building control. Duration will depend but the average is 5-10 days.

